Tag Archives: C&C cages

The writing guinea pigs have new digs

10 Oct

My husband and I just wrapped up moving the last of our things into our new house — including the caviary. Moving with animals is always something of a feat, and it can be especially tricky when you’re moving a dozen or so guinea pigs.

The thing with moving guinea pigs is that you need someplace to put the guinea pigs. You can’t just throw your guinea pigs into your car, drive them to your new place, and then turn them loose in the house. So before you can move the guinea pigs, you have to have a pen or set of pens pretty much ready to go. In our case, this meant a week or so of splitting our time between my old place and our new place while we tried to assemble a new caviary during the few hours we have free each evening. Because of course neither of us took work off — that would have been too easy.

In any case, we got it finished last week. I’m rather pleased with the end result:

The general basis for this caviary schematic is the same I used in my last place. I use custom-built C&C cavy condos for the majority of my cavies’ housing. For more on how to construct this kind of setup, there is a three-part tutorial beginning here. I did, however, make one modification to the design this time around. I lined the inside of each individual pen with window screen I bought in a big roll at Home Depot. The idea here (which was originally thought up by my sister. Full credit where credit is due) is that the window mesh will prevent the guinea pigs from kicking their bedding all over the floor while allowing the cavies proper ventilation. So far it seems to work pretty well, though it does require a bit of effort to cut the window mesh to the proper size and then attach it to the inside of each pen with zip-ties. I definitely advocate doing this while building the pens — trying to attach it to the inside of pre-existing pens would be a real nightmare.

In any case, I’ll let you know if the mesh continues to perform as well as I hope.

How to build multi-family C&C cavy condos, part III

11 Jun

This is the third in a three-part series on the construction of custom, multi-story C&C cages. Click for part I or part II.

With the frame for your condo complete, the third and final step is cutting the plastic coroplast pans.

20130503_221251

Start by measuring the inside perimeter of your frame. Subtract an inch or two from each measurement to ensure the pan will be easy to remove. then begin marking those measurements on an uncut sheet of coroplast. If the sheet you are working with is significantly larger than the necessary size, you might consider cutting it down in advance to make the sheet easier to work with.

You can mark your coroplast according to whatever system works best for you, but I personally like drawing a small line at each corner, indicating where the bottom of the pan should meet the lip. In this case, you can see that I’ve planned for three-inch lips surrounding the pan. This is short, but all this small piece of coroplast would allow. If you do this, you should end up with two marks in each corner that will outline the pan’s future shape.

20130503_221321

Next, begin cutting with a box opener along the outermost edge of what will be the flat, outside surface of your pan. Use a yard stick to make sure you cut as straight as possible. For this first cut, apply just enough pressure to score the coroplast — you want to cut through the top layer of plastic, but not the second. If you cut both layers, you’ll end up with a leaky pan. You should end up with four intersecting cuts, outlining the bottom of the pan.

20130503_221643

When you’re finished cutting, flip the coroplast over and begin to shape your pan by folding the lips up along the scored creases. You may need to re-cut some places if your box opener didn’t cut smoothly. You might also need to apply a little force to get the lip to pop up, and the plastic may make a loud cracking noise as you do so. This is normal.

If you’ve done this correctly, you won’t be able to fold all four lips into place at the same time just yet. There should also be no holes in the side of the pan — the coroplast should fold smoothly. The scored edge will form the outside of the pan, leaving the uncut edge on the inside intact.

20130503_222303

Now, select two parallel lips, and make a second cut through the remaining layer of plastic at each corner, up to the perpendicular crease. This should allow you to separate a square of plastic that is the same width and height as the pan’s lip, leaving one edge attached.

20130503_222628

Finally, place your double-sided tape on the outside edge of one of these square cut-outs. Fold the perpendicular lip up to meet the cut-out, and press together until the tape stays in place. Repeat for all four corners.

20130503_222935

Make as many pans as necessary to fill the remaining pens in your caviary. You’re well on your way to a finished condo!

How to build multi-family C&C cavy condos, part II

6 Jun

This is the second in a three-part series on the construction of C&C cavy condos. For part I, click here.

I’m building myself a four-story condo with four full-sized pens, plus three cavy runs on the side for my show animals.

20130427_104319

Start initially by laying out several grids for the floor of your condo. Don’t start connecting anything just yet — the weight of these condos builds up pretty fast, and by the time you start the second story, you  may not be able to move the pen without taking it apart. Before anything is put together, be sure you’re setting up your condo exactly where you want it, with enough space on the sides for water bottles and doors. Here, I’ve also laid down a tarp to make cleaning easier.

20130427_105914

Once you’re happy with the position of your condo, go ahead and start attaching the grids to each other with the connector pieces in your C&C kit. These come together more or less like Legos, but you might have to use a little force. Keep the overall design of your condo in mind as you place these, so that you have slots for all the necessary grids as you continue to build.

20130427_110124

When the connectors are in place and all the grids evenly spaced, pull out your zip ties. You should use a zip tie to reinforce the corners wherever the grids meet by way of connectors. So, as of this stage, you should have four zip ties surrounding each connector. The C&C connectors, while useful for maintaining the pen’s shape, don’t actually bear weight especially well. If you opt out of this step, you will likely see problems with your pens down the road. Additionally, there will be some places where connectors will not fit, or may not be desirable. Using zip ties exclusively at these junctions is perfectly acceptable, so long as you don’t overdo it.

20130427_113535

Once you’ve finished the floor, check again to be sure your pen is located exactly where you want it, and then being placing the first level’s back wall. Place connectors and zip ties as in the previous steps.

If you’re working against a wall, as I am here, you’ll always want to place the back wall before the others. It makes it easier to install connectors and zip ties.

20130427_122018

With the back wall finished, insert the rest of the dividing walls around the pens, as you have planned. Be sure to leave openings where the doors will be located.

20130427_145900

Continue installing the roof and upper levels one segment at a time — fill in the ceiling first, then the upper walls, and so forth. You might have to install the ceiling one grid at a time, in order to make it come together properly.

To continue to part III, click here.

How to build multi-family C&C cavy condos, part I

4 Jun

This is the first in a three-part series on the construction of custom, multi-story C&C cages.

Caviaries are as unique as the people who operate them — no two setups are exactly the same. Consequently, there are a variety of ways to house our furry friends. No one housing system is superior to all others; what works for you might not work for someone else.

Legacy Caviary uses a C&C caging system almost exclusively. This particular method of housing is a relatively inexpensive way to provide ample cage space for your cavies, while making efficient use of floor space.

It’s also readily adaptable. As best I can tell, the C&C (cubes and coroplast) system was more or less developed by volunteers with the Cavy Spirit rescue. Though originally intended to house guinea pigs individually, as pets, we were able to modify the rescue’s designs to create a C&C cavy condo. I’ve had a number of people within the fancy ask about our cage setup, so I thought I’d post a little how-to.

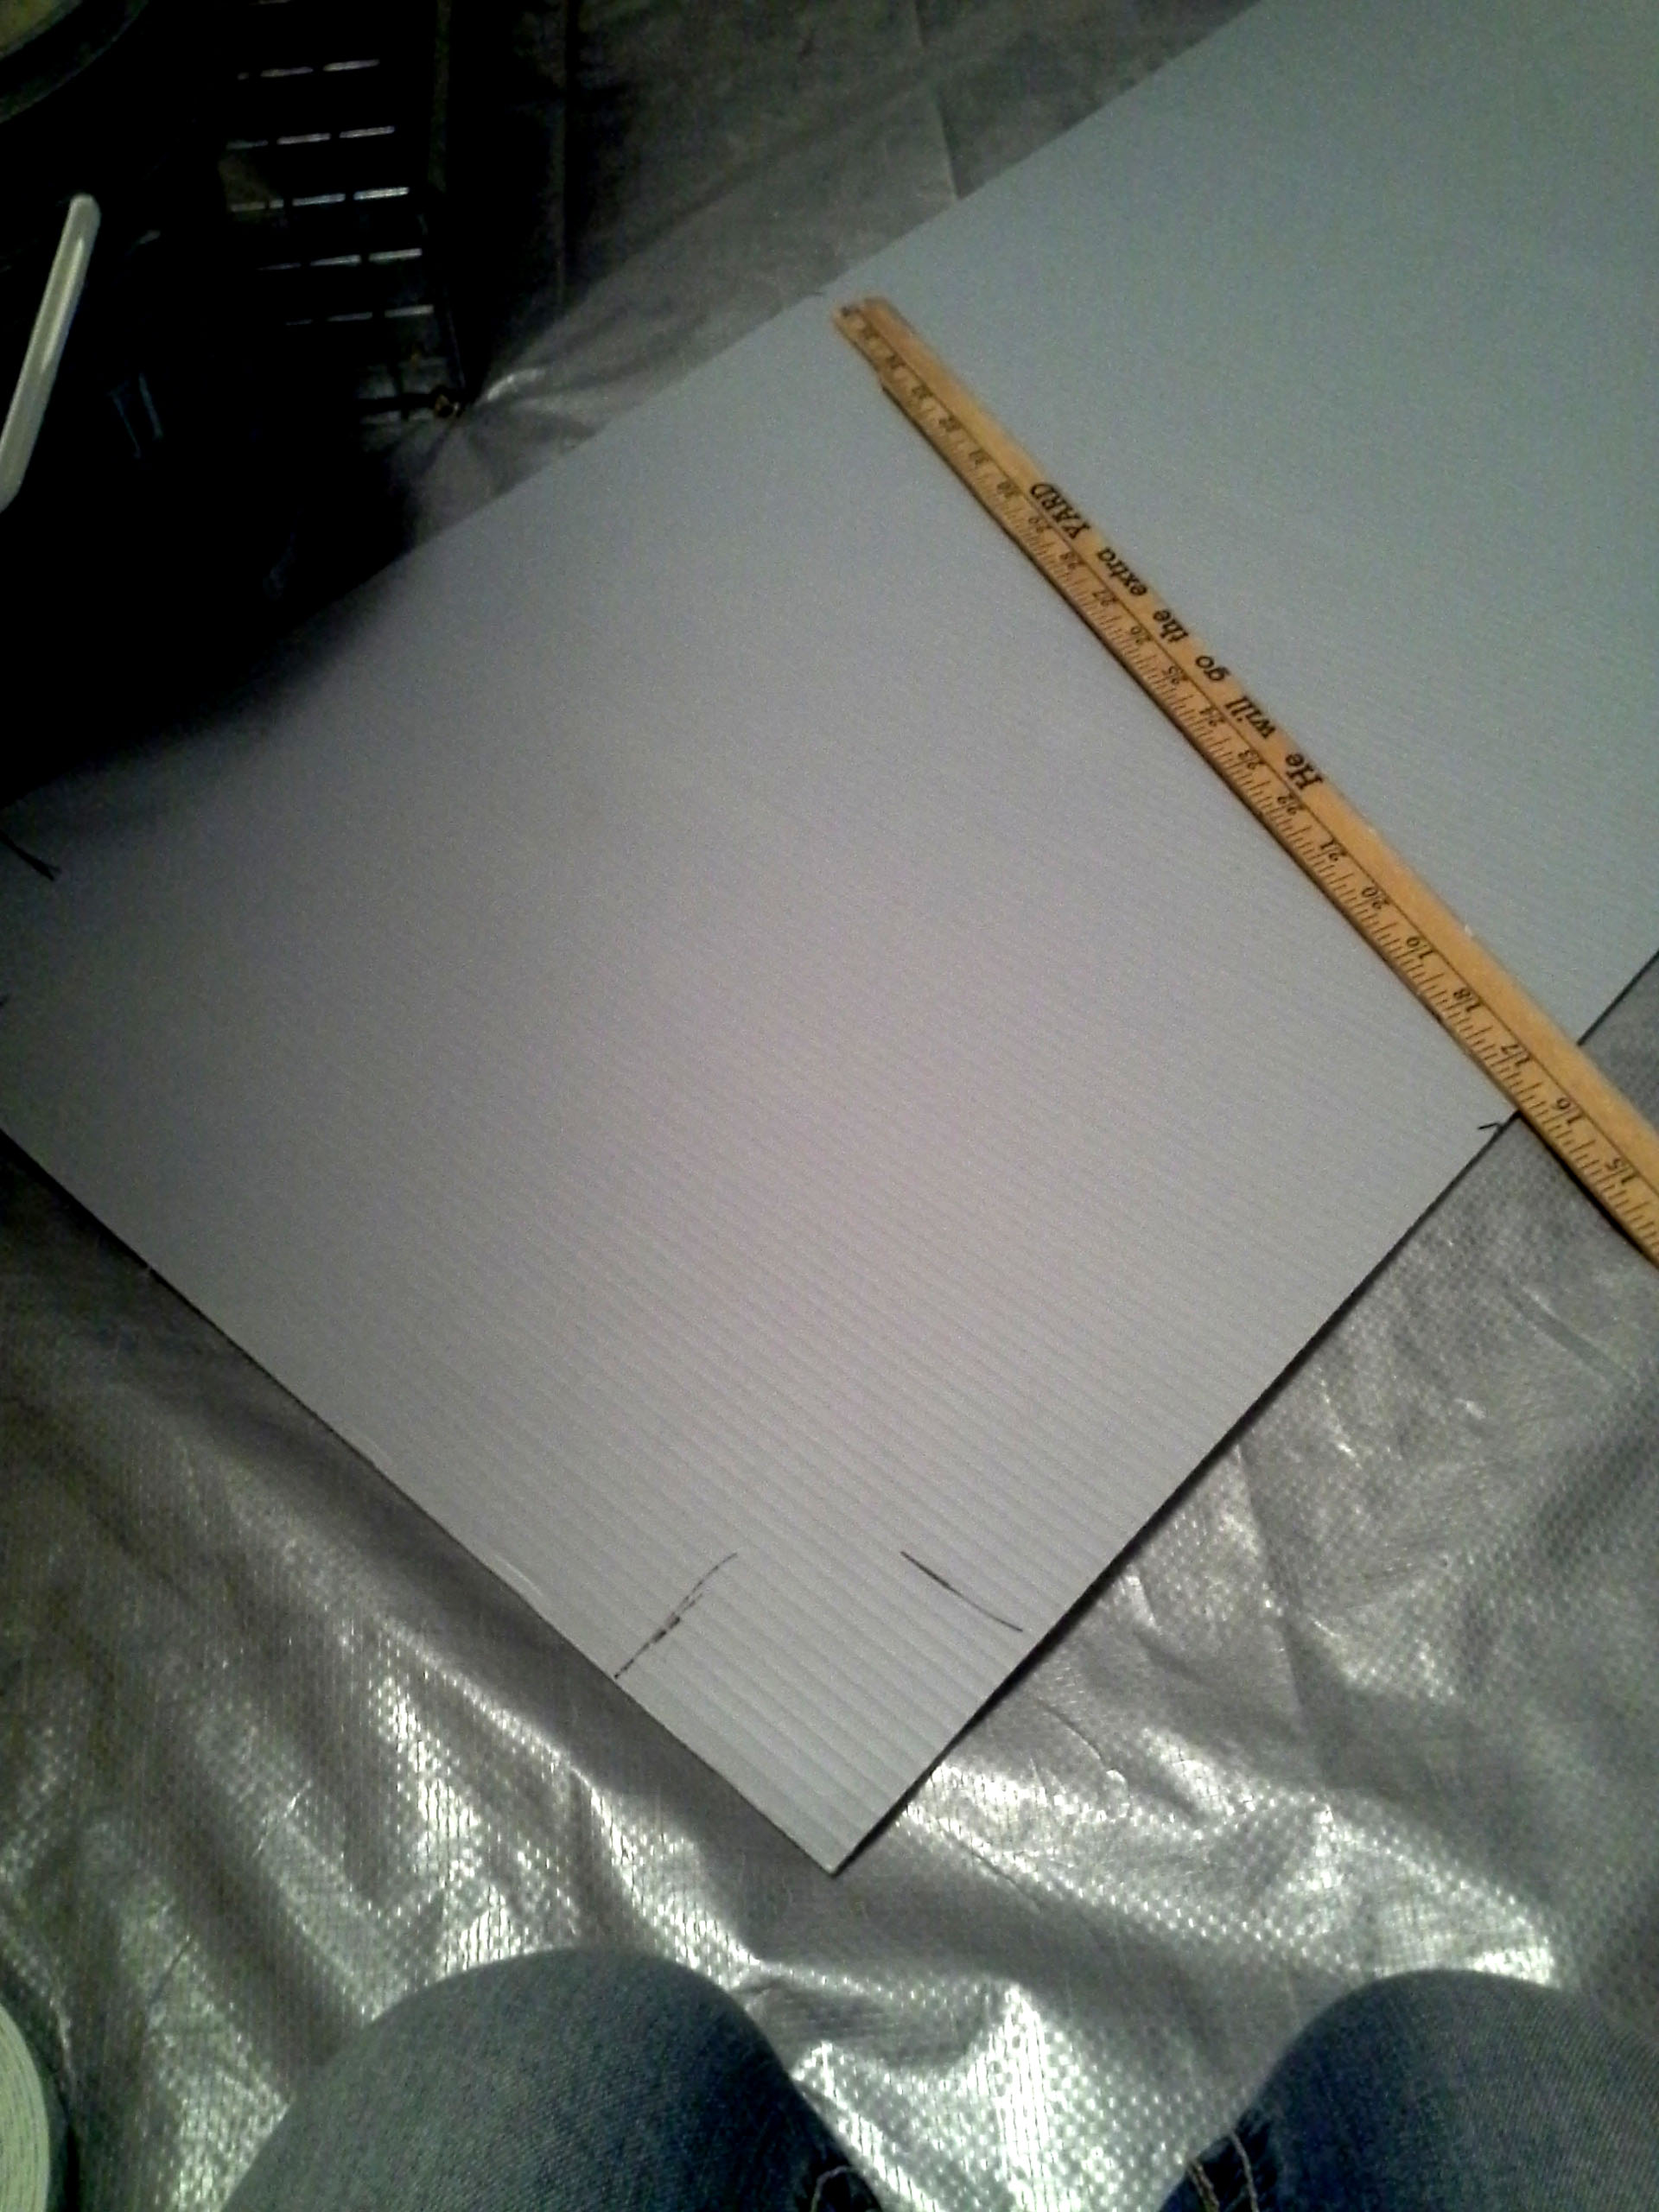
If you’re unfamiliar with the C&C system, then your first step is to acquire the necessary materials. You’ll need two basic ingredients to “frame” your condos: grids and connectors from a commercial “cube” storage system, and a few packages of zip ties. For the pans, you’ll need to acquire some double-sided tape, like the kind used to mount photos on walls, and some sheets of coroplast plastic.

Locating coroplast will probably be the hardest part of this project. Several whole-sale, national outlets sell large sheets for as little as a few dollars, but the sheets are so large they cannot be shipped. You’ll have to find a distributor, and depending on where you look, the markup price can be quite high.

If the timing is right, you might be able to find coroplast for free. Around election season, look for unwanted plastic signs and commence a “community service project” of cleaning up election materials. But if you go this route, remember that the sheets will need to be large enough to build at least a single pan. You cannot form pans from multiple pieces of coroplast.

The other materials you need should be easier to find. Cubes units are sold at select retail outlets, so you’ll probably have better luck hunting online. For double-sided tape and zip ties, check with your local hardware store.

Before you start building, it’s generally a good idea to draw out a quick diagram, or at least put some kind of thought toward the design of your condo. One of the great benefits of using C&C caging is flexibility — you can easily build in any shape or size you desire. But a haphazard approach could result in an unstable condo. A few basic guidelines you will want to follow while planning: square or rectangular cages are significantly easier to clean, and the bottom pens should always be heavier than the top. Because the metal cubes weigh more than the plastic pans, and because the cubes can act as supports, the largest pen in terms of cage space should usually go on top.

If you’re having trouble coming up with your own design, I’ve diagrammed a couple of the designs we’ve used over the years. Note that the measurements listed here are approximate — the exact size of individual storage grids varies somewhat. However, it should give you a better idea of the each design’s dimensions, since these diagrams are nowhere close to scale. I apologize for that in advance, but I am neither an architect, nor a graphic designer.

A simple C&C design, suitable for about three cavies. Ideal for most pet owners.

A more complex C&C design, with two separate pens (one for boys and one for girls?). The top pen is suitable for three cavies, the bottom pen for two.

Our basic “cavy condo” design. You can build as many stories as you like, but I’m short, and I don’t like cleaning anything much taller than this. The top pen is suitable for four to five cavies, the 2×2 pens can hold up to three each.

An advanced “cavy condo” design. Like the easier design, the top pen can hold up to five cavies, and the 2×2 pens up to three. The 3×1 “cavy runs” on the side of the cage really shouldn’t house more than one adult at a time, but they’re perfect for show animals you want to keep separate for grooming.

To continue to part II, click here.